

In a 2025 B2B cold email dataset covering 7.5 million emails, 128,605 messages bounced, creating a 1.71% bounce rate and an implied 98.29% deliverability rate. That result reframes how to reduce email bounce rate: verification matters, but it isn't the whole job. A bounce spike can come from invalid addresses, temporary mailbox failures, authentication gaps, inconsistent volume, or provider throttling.
The practical approach is diagnostic first. Measure the failure type before cleaning the list, authenticate before increasing volume, and suppress recipients according to the SMTP response rather than a generic platform label. For most B2B programs, a bounce rate below 2% is a healthy operating target, while rates from 2% to 5% deserve investigation and anything above 5% indicates serious risk, as summarized by Belkins' email deliverability benchmarks.
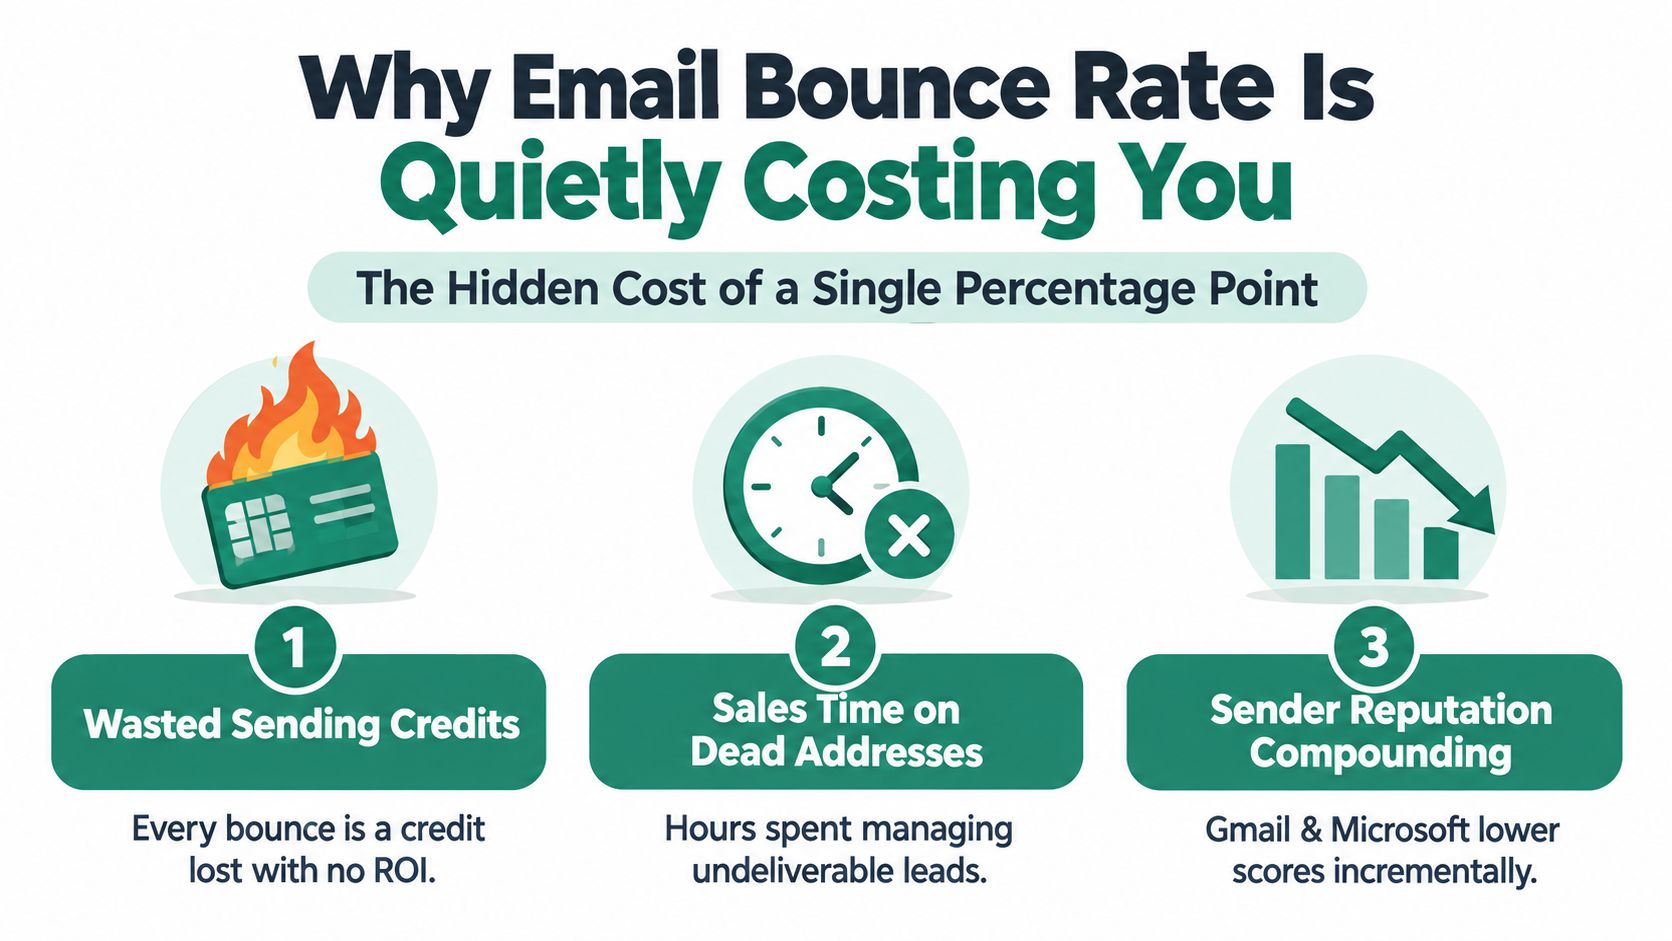
Why Email Bounce Rate Is Quietly Costing You
A single percentage point of bounces represents more than undelivered messages. It means sending capacity was used on addresses that produced no conversation, sales staff may still work dead records, and mailbox providers receive another signal about the quality of your traffic. Over time, repeated failures can weaken inbox placement at Gmail, Microsoft, and Yahoo, even when your copy and offer are strong.
The damage often remains invisible until inbox placement falls sharply. Teams see a campaign report, notice fewer replies, and blame subject lines or timing. By then, domain reputation may have been deteriorating across several sends. A high bounce rate can also distort campaign analysis because delivered and undelivered recipients are evaluated together.
Practical rule: Treat bounce rate as an operating control, not a post-campaign vanity metric.
The financial cost is easy to overlook:
- Wasted sending capacity: A bounced message consumes campaign resources without creating an opportunity.
- Sales time on dead records: Reps may research, sequence, and follow up with contacts who can never receive the message.
- Reputation pressure: Providers can interpret recurring delivery failures as evidence of poor list quality or risky sending behavior.
Start with a baseline from the same sending stream, domain, and recipient mix. Don't combine transactional, newsletter, and cold outreach results into one number if their delivery conditions differ. Review the SMTP response, provider, sending time, and authentication result alongside the aggregate rate.
The goal is straightforward: keep total bounces below 2%, remove permanent failures immediately, and prevent authentication or sending-pattern problems from creating avoidable temporary failures. The exact hard-bounce threshold should be defined from your own historical data and provider feedback, not invented as a universal benchmark.
Understanding Bounce Types and What a Healthy Rate Looks Like
A bounce spike is easier to fix when you separate three events that sending platforms often combine. A hard bounce means the address has failed permanently, such as an unknown user or nonexistent mailbox. A soft bounce is usually temporary, caused by a full mailbox, transient server error, or greylisting. Provider throttling is different: the receiving platform delays acceptance because it questions your volume, cadence, reputation, or authentication.
Read the SMTP response before choosing a remedy. 550 user unknown usually identifies a bad address. 4.2.1 points to a temporary mailbox condition. 4.7.1 can indicate throttling or a provider policy decision, so deleting the recipient will not repair the sending system.
| Bounce Category | What It Means | Example SMTP Code | Target Rate |
|---|---|---|---|
| Hard bounce | Permanent address failure | 550 user unknown or 5.1.1 |
Keep below your internal hard-bounce ceiling and suppress immediately |
| Soft bounce | Temporary delivery problem | 4.2.1 or 4.4.1 |
Keep low through verification and controlled retries |
| Provider throttling | Receiving provider delays acceptance | 4.7.1 |
Diagnose volume, reputation, and authentication before retrying |
Use under 2% total bounce rate as a broad operating reference. Rates between 2% and 5% indicate a warning zone, while rates above 5% carry high deliverability risk, according to the Belkins deliverability analysis. That analysis also reports a 1.71% overall bounce rate for a 2025 B2B dataset, which illustrates a low-bounce program rather than a guarantee for every sender.
Cloudflare documents a hard-bounce target below 2% and delivery rates above 95% in its email deliverability guidance. Use those figures as health checks, then investigate the events behind your own rate.
Read the failure before choosing the remedy
Put hard bounces on permanent suppression lists immediately. Apply controlled retries to soft bounces, then review repeated failures. For provider throttling, adjust volume or cadence and check reputation and authentication while keeping the address eligible for later delivery.
A campaign dominated by hard bounces has a data problem. A campaign producing repeated 4.7.1 responses may have an infrastructure problem. Treating both as list-cleaning tasks wastes time and leaves the cause untouched. The bounce category should determine whether you suppress, retry, or repair the sending setup.
Building a Clean List Before You Press Send
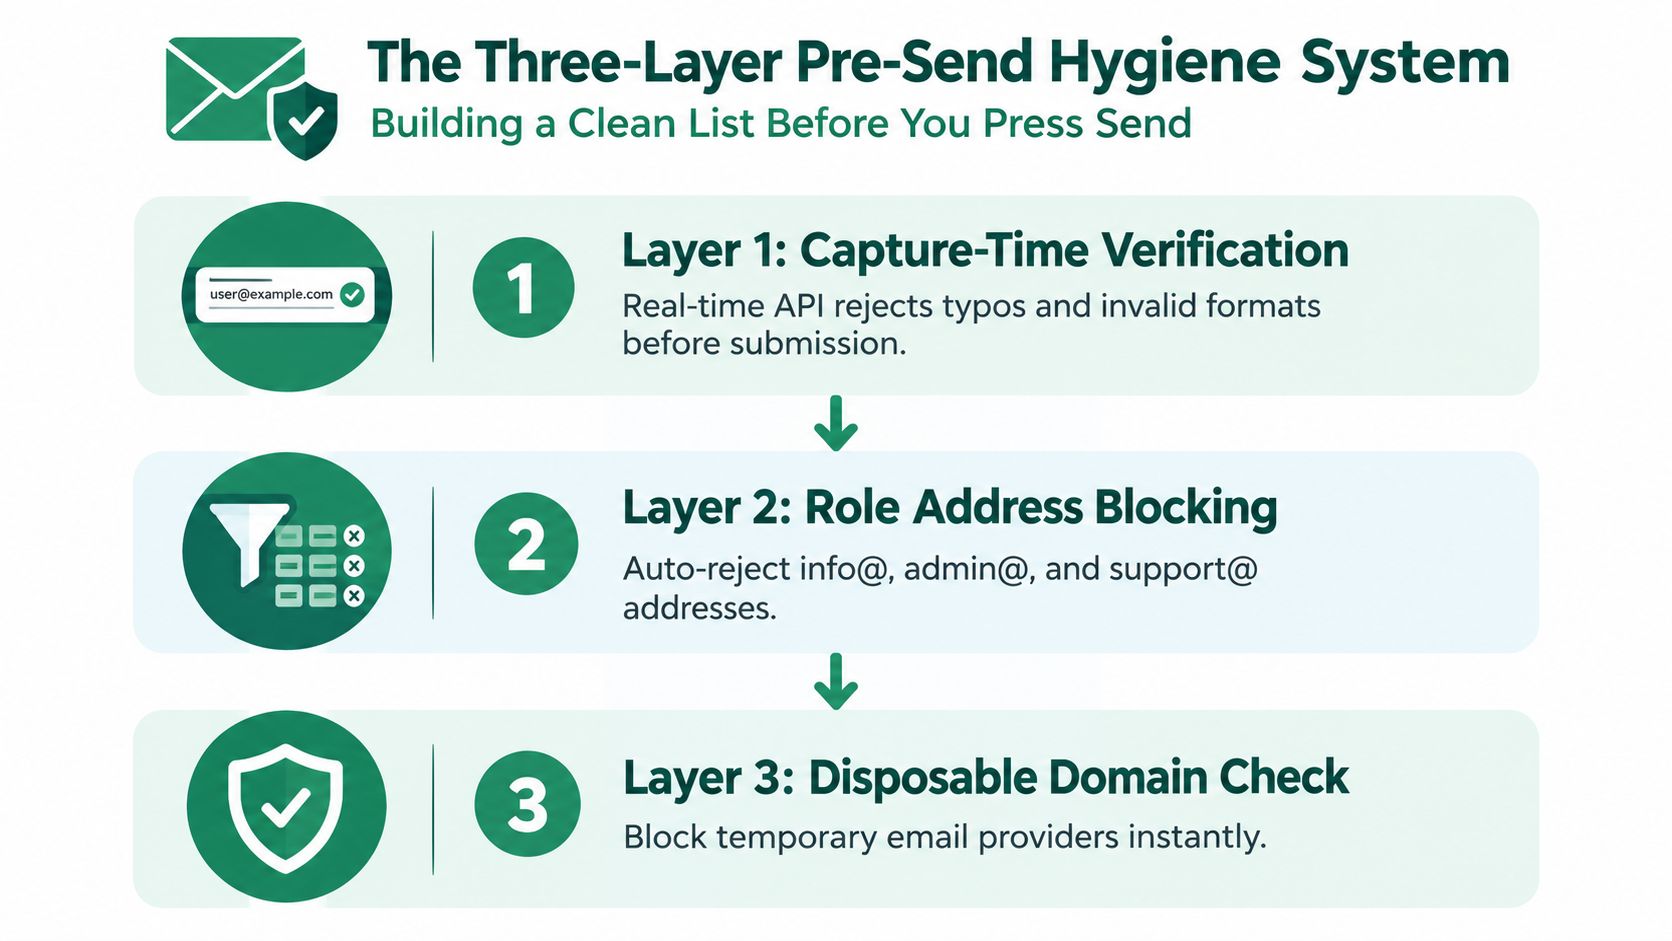
List hygiene works best as a continuous control with three layers. The first layer operates when a person submits an address. The second confirms that the person controls the mailbox. The third checks whether older records are still usable before a campaign begins.
Layer one starts at capture
Add real-time validation to forms, imports, and CRM workflows. The check should catch syntax errors, suspicious domains, disposable providers, and addresses that fail domain or mailbox verification. If a B2B SaaS visitor types name@gmial.com, the form should identify the likely typo before the record enters the database.
Role addresses need a policy rather than an automatic assumption. info@, admin@, and support@ may be valid operational inboxes, but they often create shared ownership and lower response quality. Decide whether your campaign is intended for named decision-makers, then block or route role-based records accordingly.
For teams that collect prospects from multiple sources, EmailScout's clean email list workflow can be considered alongside other verification and CRM processes. The important control is the timing. Verification performed after a bad record has already entered several audiences is less effective than rejecting it at capture.
Layer two confirms intent
Use double opt-in for newsletter subscriptions, gated resources, event registrations, and other permission-based acquisition. The confirmation message filters typographical errors and fake signups, while also giving the recipient a clear record of consent.
Double opt-in has a trade-off. Some legitimate people won't complete the confirmation step, so the list may grow more slowly. That reduction in volume is usually preferable to accepting addresses that are mistyped, abandoned, or collected without meaningful intent.
Layer three checks for decay
Re-verify older records before each significant campaign, especially when the data has been sitting for 30 days or more, a timing recommendation discussed in guidance on email verification and bounce prevention. People change employers, domains stop resolving, and mailboxes are deactivated. A list that was acceptable when collected may not be safe to send today.
Separate verified, risky, unknown, and suppressed records. Don't mix them into one audience because a single aggregate rate can hide a deteriorating segment. A quarterly list that has aged beyond a campaign cycle should be checked again before re-engagement, rather than sent in full and cleaned afterward.
Setting Up SPF, DKIM, and DMARC the Right Way
Authentication won't repair a bad list, but missing or misaligned authentication can make a clean list look suspicious. Configure the controls in order, document every sending service, and test the live result rather than trusting a setup screen.
SPF comes first
Publish an SPF TXT record that names every authorized sending source for the domain. Keep the record within the DNS lookup limit, and avoid permissive mechanisms such as +all or ?all. An incomplete SPF record can cause legitimate messages to fail, while an overly broad one weakens the control.
Check the published record with a DNS lookup tool or MXToolbox. Compare the result with your actual ESP, CRM, transactional service, and support platform. Remove services that no longer send, because stale authorization creates both operational confusion and unnecessary exposure.
DKIM proves message integrity
Create a separate DKIM selector for each sending service, publish its public key, and enable the selector inside the provider. Send a test message and inspect the authentication results, not just the provider's green status indicator.
A common failure is a selector that exists in DNS but isn't enabled for the stream using it. Another is reusing one key across unrelated services without a clear rotation and ownership process. Keep a record of selectors, responsible teams, and the systems that depend on them.
DMARC gives receivers instructions
Start DMARC with a reporting-only policy so you can identify unauthorized sources and alignment failures. Send aggregate reports to a mailbox that someone actively reviews, then move toward enforcement after the legitimate streams pass consistently. Machine Marketing's guidance on reputation management for industrial marketers provides useful context for treating authentication and sender reputation as an ongoing operational discipline.
| Protocol | DNS Record Type | Where to Publish | Most Common Mistake | How to Verify |
|---|---|---|---|---|
| SPF | TXT | Root sending domain | Missing a legitimate sender or using an unsafe mechanism | DNS lookup or MXToolbox |
| DKIM | TXT | Selector subdomain | Publishing a key without enabling the selector in the ESP | Test message authentication headers |
| DMARC | TXT | DMARC subdomain | Enforcing before alignment is understood | Aggregate reports and provider tools |
Use EmailScout's SPF, DKIM, and DMARC explanation as a reference when documenting the records for sales and marketing teams. Authentication should be rechecked whenever a new platform is introduced, a domain changes, or an existing sender is retired.
A Real Bounce Rate Rescue Story and the Four Fixes Behind It
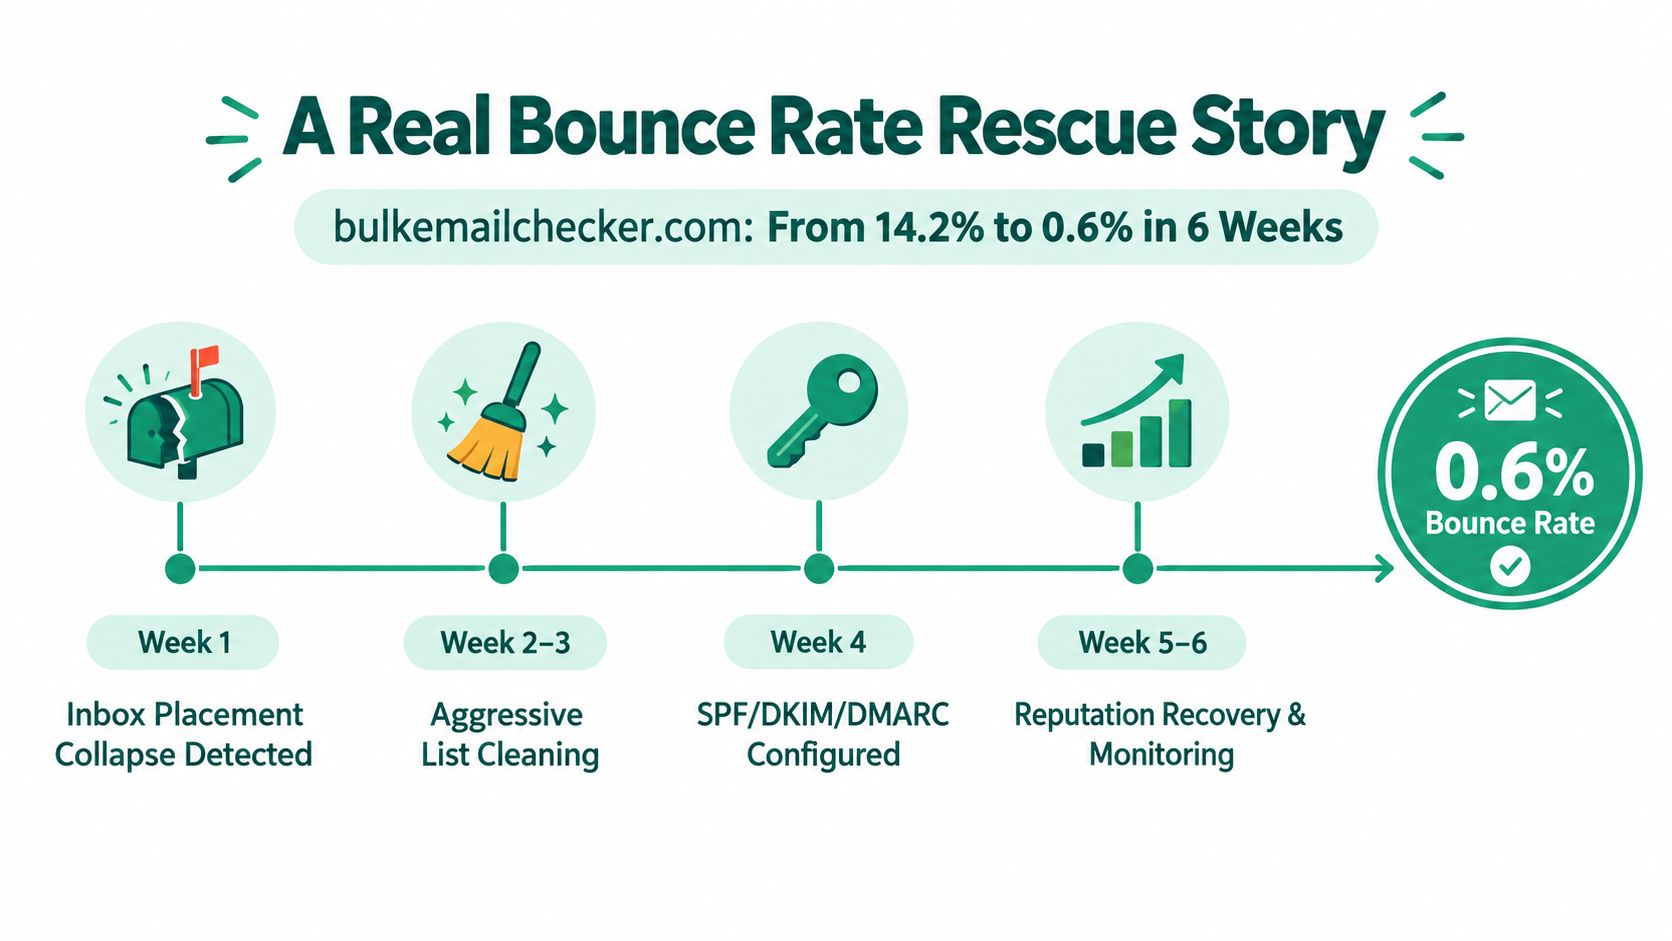
A 2026 case study from Bulk Email Checker describes a B2B SaaS company that reduced its bounce rate from 14.2% to 0.6% in 30 days. The reported result followed several changes at once, including bulk verification, real-time form validation, engagement-based suppression, and SPF, DKIM, and DMARC corrections, as documented in the B2B SaaS bounce-rate case study.
That story matters because the team didn't treat the problem as a single bad export. A rate that high can reflect several failures operating together. The reported reduction was 13.6 percentage points, or roughly a 95.8% relative improvement, but the case shouldn't be read as a promise. It shows how much preventable failure can sit inside list quality and sending infrastructure.
The sequence is more useful than the headline:
- Validate the existing database. The team performed bulk verification and removed addresses that couldn't be trusted before another send.
- Validate at capture. New form submissions were checked immediately, preventing the repaired list from decaying through fresh typos and invalid records.
- Suppress by engagement. Recipients with repeated delivery or engagement problems were excluded rather than repeatedly retried.
- Repair authentication. SPF, DKIM, and DMARC were corrected so receiving providers could evaluate the sender with stronger identity signals.
The lesson is to avoid copying a single tactic and expecting the same outcome. Verification removes address-level risk, suppression prevents repeated damage, and authentication improves the receiving system's confidence in the sender. If the response codes show throttling, add controlled volume and cadence changes instead of deleting valid recipients.
Reading Bounce Codes and Suppressing the Right Addresses
Your bounce log should answer two questions: Can this address ever receive mail? and Why did this attempt fail now? The first question determines suppression. The second determines whether the sender, message, or provider needs attention.
Permanent failures such as 5.1.1, 550 user unknown, or mailbox-not-found responses should move directly to permanent suppression. Don't retry them through another campaign or allow CRM synchronization to re-add them. A suppression record should survive list exports, audience rebuilds, and provider migrations.
Temporary responses require more nuance:
4.2.1mailbox full: Allow a controlled retry window, then suppress after repeated consecutive failures.4.4.1temporary failure: Retry while checking whether the same domain is failing broadly.4.7.1throttling or policy response: Reduce volume and inspect reputation, authentication, cadence, and refusal text before retrying.5.7.1content or policy rejection: Investigate the message, links, and sending identity. The address may still be valid.
Read the exact refusal text. A platform's “soft bounce” label can hide a provider defense mechanism.
Build the mapping from raw ESP events, Postfix or equivalent mail logs, and Gmail Postmaster data where available. Then send the result to an automated suppression service through webhooks or a scheduled CSV process. The automation should distinguish recipient-level failures from domain-level patterns, because suppressing every address at a throttled domain can destroy a valid audience.
| SMTP Code | Meaning | Category | Suppression Action |
|---|---|---|---|
5.1.1 |
User unknown or mailbox unavailable | Hard bounce | Permanent suppression |
550 |
Permanent recipient refusal | Hard bounce | Permanent suppression |
4.2.1 |
Mailbox full or temporary mailbox issue | Soft bounce | Retry, then suppress after repeated failures |
4.4.1 |
Temporary routing or server failure | Soft bounce | Retry while monitoring the domain |
4.7.1 |
Throttling or policy-related deferral | Provider throttle | Cap volume and investigate sender signals |
5.7.1 |
Message, policy, or content rejection | Policy failure | Review content and authentication, don't automatically suppress |
A dedicated email scrubbing service can support the address-validation part of this workflow, but no verifier can diagnose every provider-level throttle. Keep SMTP evidence attached to each event so your operations team can see whether the remedy belongs in the list, the message, or the sending infrastructure.
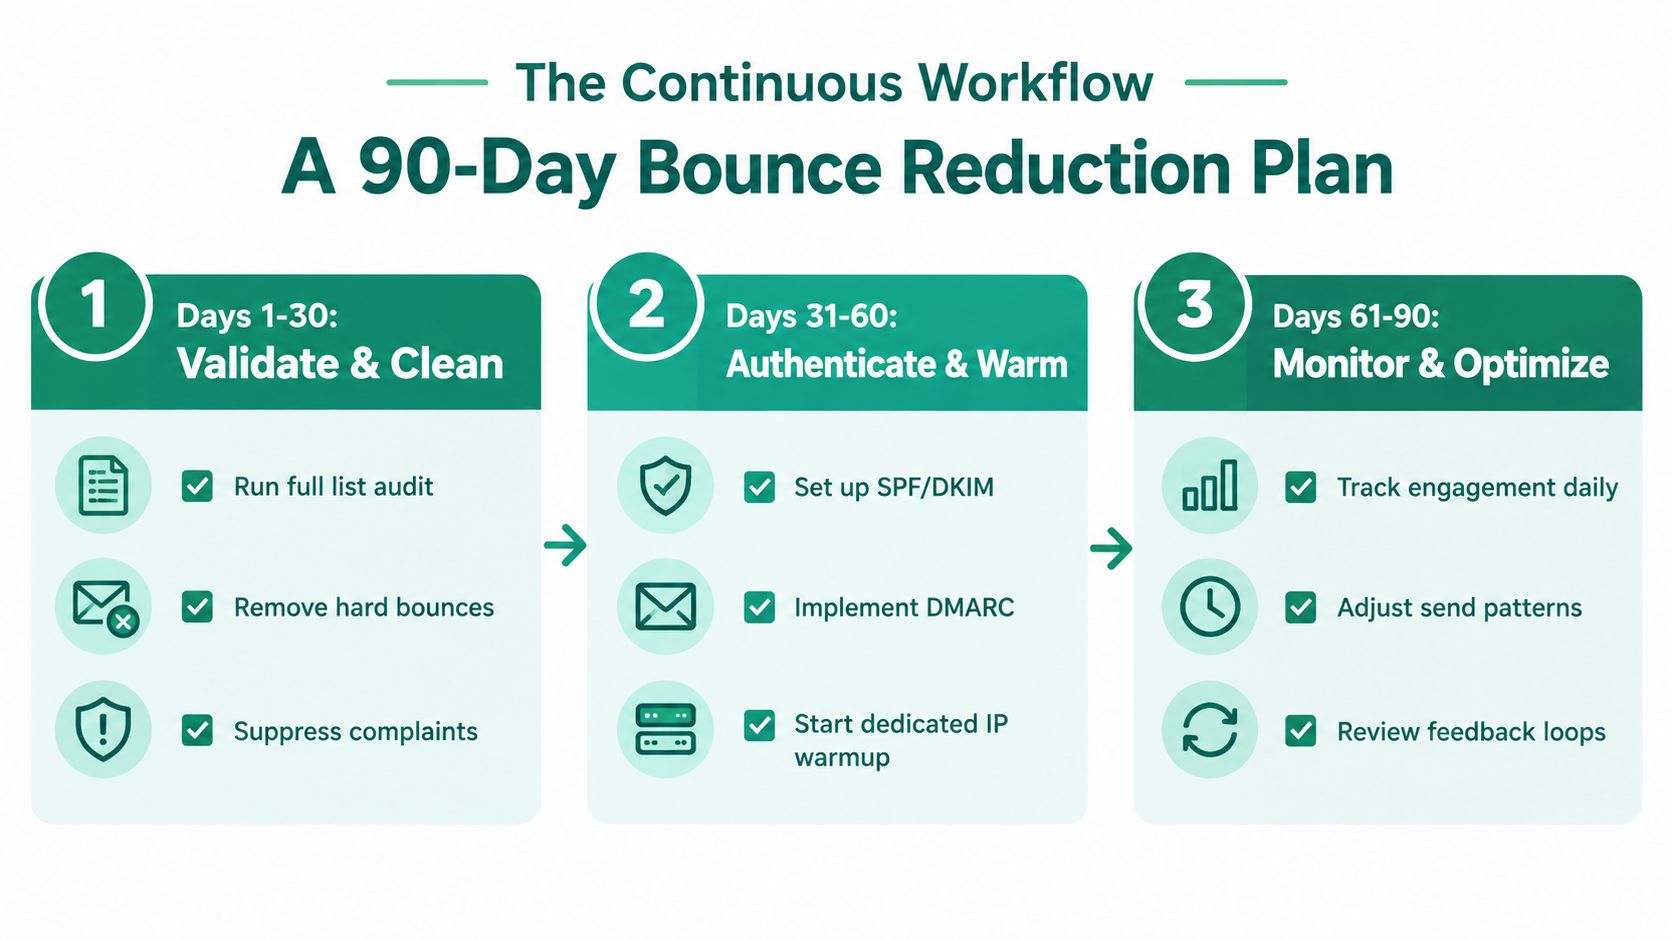
A 90-Day Bounce Reduction Plan You Can Actually Run
A durable bounce reduction program treats each spike as an infrastructure diagnosis. Separate hard bounces, soft bounces, and provider throttling before changing the list. A permanent recipient failure needs suppression, while a temporary domain refusal may require lower volume, corrected authentication, or a pause. The operating cycle should connect contact data, DNS, message headers, sending behavior, and event monitoring.
Days 1 to 30 focus on control
Start with a full list audit. Remove permanent failures, isolate unverified or risky records, and pause large sends until the results are clear. Check SPF, DKIM, and DMARC for every active sending source, then compare the live DNS records with the authentication results in message headers. A clean list cannot compensate for a misconfigured sender.
Days 31 to 60 add prevention
Add real-time validation to forms and imports. Use double opt-in when the consent and quality gains justify the added friction. Define separate suppression rules for recipient failures, repeated mailbox problems, and provider throttling. Do not suppress an entire domain because one provider is temporarily limiting delivery.
Use re-engagement selectively. Continuing to mail every inactive record keeps low-value addresses in circulation and can increase exposure without improving list quality. Set a clear stopping condition based on engagement and delivery behavior.
Days 61 to 90 make the system self-protecting
Set a consistent warm-up and volume pattern for new domains or streams. Review bounce events weekly, then create an automation trigger that pauses or limits sending when the overall rate reaches your internal review threshold. The threshold should reflect your provider mix, historical baseline, and the type of failures observed, rather than a universal number.
Track two weekly metrics:
- Hard bounce rate per send: Shows whether capture, verification, and suppression are working.
- Authentication pass rate: Shows whether legitimate mail is being recognized as authorized.
Force a full re-validation when a stable segment shows a sudden spike, a domain produces repeated temporary failures, or authentication results change unexpectedly. Base the trigger on the failure pattern and refusal text, not only a dashboard color.
Teams documenting AI-assisted research and outreach workflows can find additional process ideas in a privacy-first ChatGPT alternative blog. Keep deliverability decisions tied to verified SMTP events and your own sending data.
The result comes from repeated execution: clean capture, accurate suppression, authenticated sending, controlled volume, and review of provider responses. A spreadsheet cleanup starts the process. Monitoring and automatic safeguards keep it working.
EmailScout helps sales and marketing teams find and verify professional email addresses, clean existing lists, and identify records that may fail before outreach begins. Visit EmailScout to review its verification and list-cleaning workflows, then apply the results to a suppression process that protects your bounce rate.